Ophelia Farms Co.
March 2025
How to Prep Your Garden for Transplanting Seedlings
After weeks of caring for your seedlings indoors, the time has finally come to prepare your garden for their big move!
Properly prepping your garden ensures your seedlings will thrive as they transition to outdoor life.
At Ophelia Farm Co, we know the excitement of planting day, so we’ve put together this step-by-step guide to help you create the perfect home for your little plants.
Let’s get your garden ready!

Test & Nourish Your Soil
Healthy soil is the foundation of a thriving garden.
Before transplanting your seedlings, make sure your soil is in tip-top shape:
Test Your Soil:
Use a simple soil test kit to check pH levels and nutrient content.
Most plants thrive in a pH range of 6.0 to 7.5.
Knowing your soil’s condition helps you address any deficiencies before planting.
You can purchase a soil test kit online or from a local garden center.
Follow the instructions to test a sample of your soil, and adjust accordingly by adding lime to raise pH or sulfur to lower it.
Add Organic Matter:
Mix in compost or well-rotted manure to improve soil structure and provide essential nutrients.
Spread a 2-3 inch layer of organic matter over your garden bed and work it into the top 6-8 inches of soil using a garden fork or tiller.
This helps aerate the soil while enriching it with nutrients that promote root development.


Pick the Perfect Spot
Location is everything when it comes to planting your seedlings.
Each plant has unique light and spacing needs, so plan your layout accordingly:
Full-Sun Lovers:
Plants like tomatoes, peppers, and sunflowers need 6–8 hours of direct sunlight daily.
Use a compass or a sun-tracking app to determine the sunniest areas in your garden.
Companion Planting:
Consider companion planting to maximize space and encourage natural pest control.
For example, marigolds deter pests, while basil enhances the growth of tomatoes.
Research compatible plant pairings to boost productivity and keep your garden healthy.
Space to Grow:
Check seed packets or plant labels to ensure you’re giving each seedling enough room to spread its roots and flourish.
Use a measuring tape or garden ruler to mark the appropriate spacing before planting.

Prep Your Garden Beds
Creating a welcoming environment for your seedlings starts with properly prepared garden beds:
Weed Early:
Remove any weeds from your garden beds to reduce competition for nutrients and water.
Use a hoe or hand weeder to carefully extract weeds by the roots, ensuring they won’t grow back.
Loosen the Soil:
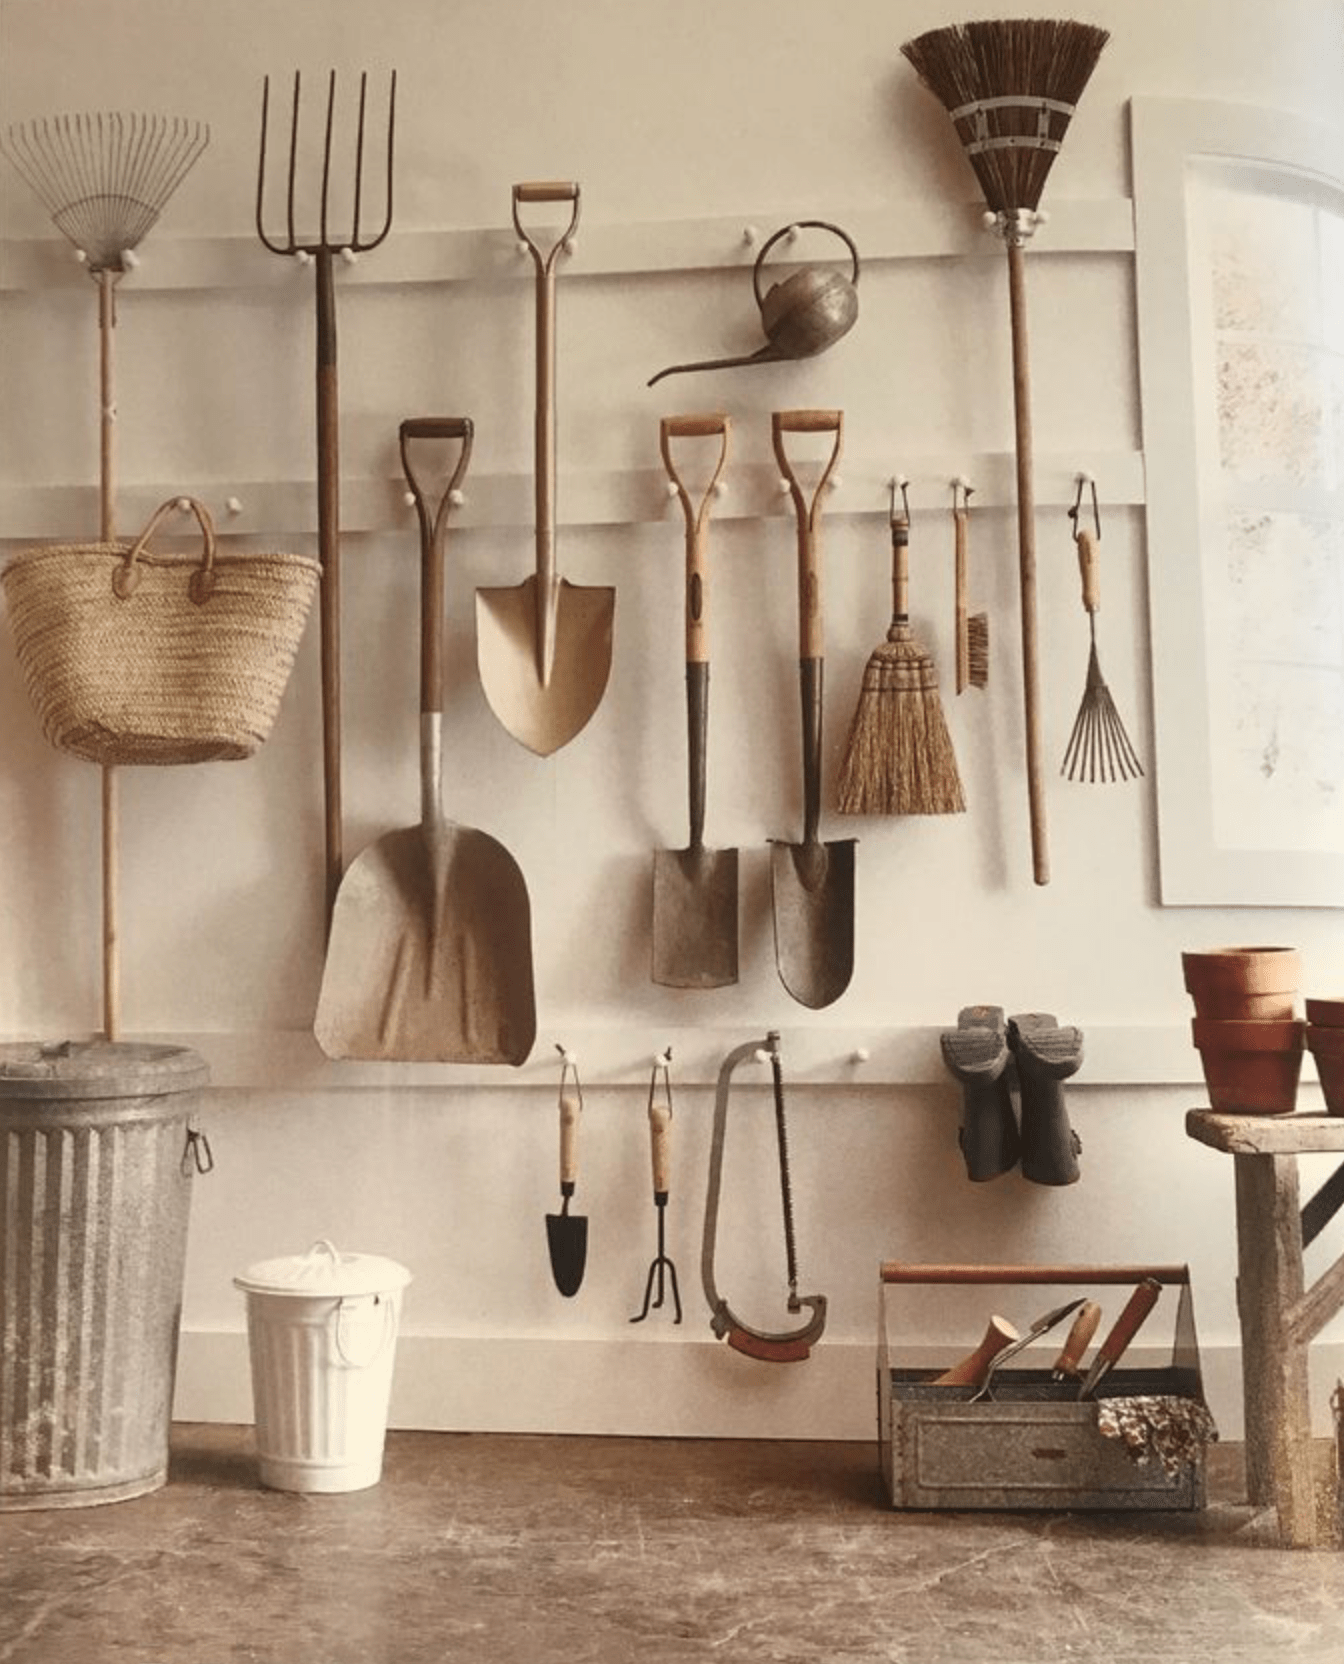
Use a garden fork or tiller to break up compacted soil.
Loosening the soil improves drainage and makes it easier for roots to establish.
Work the soil to a depth of 8-12 inches to create a loose, airy planting bed.
Mark Your Planting Layout:
Use markers, sticks, or strings to outline where each seedling will go.
This ensures proper spacing and helps you visualize the final look of your garden.
For a neat, organized garden, try laying out a grid pattern with stakes and twine.


Harden Off Your Seedlings
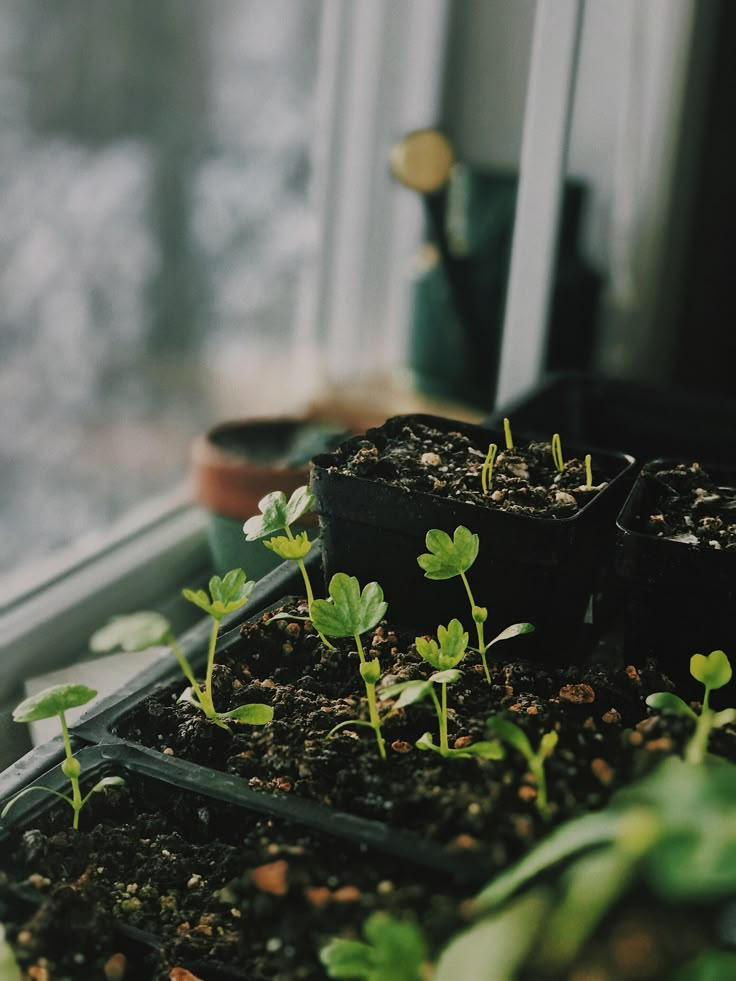
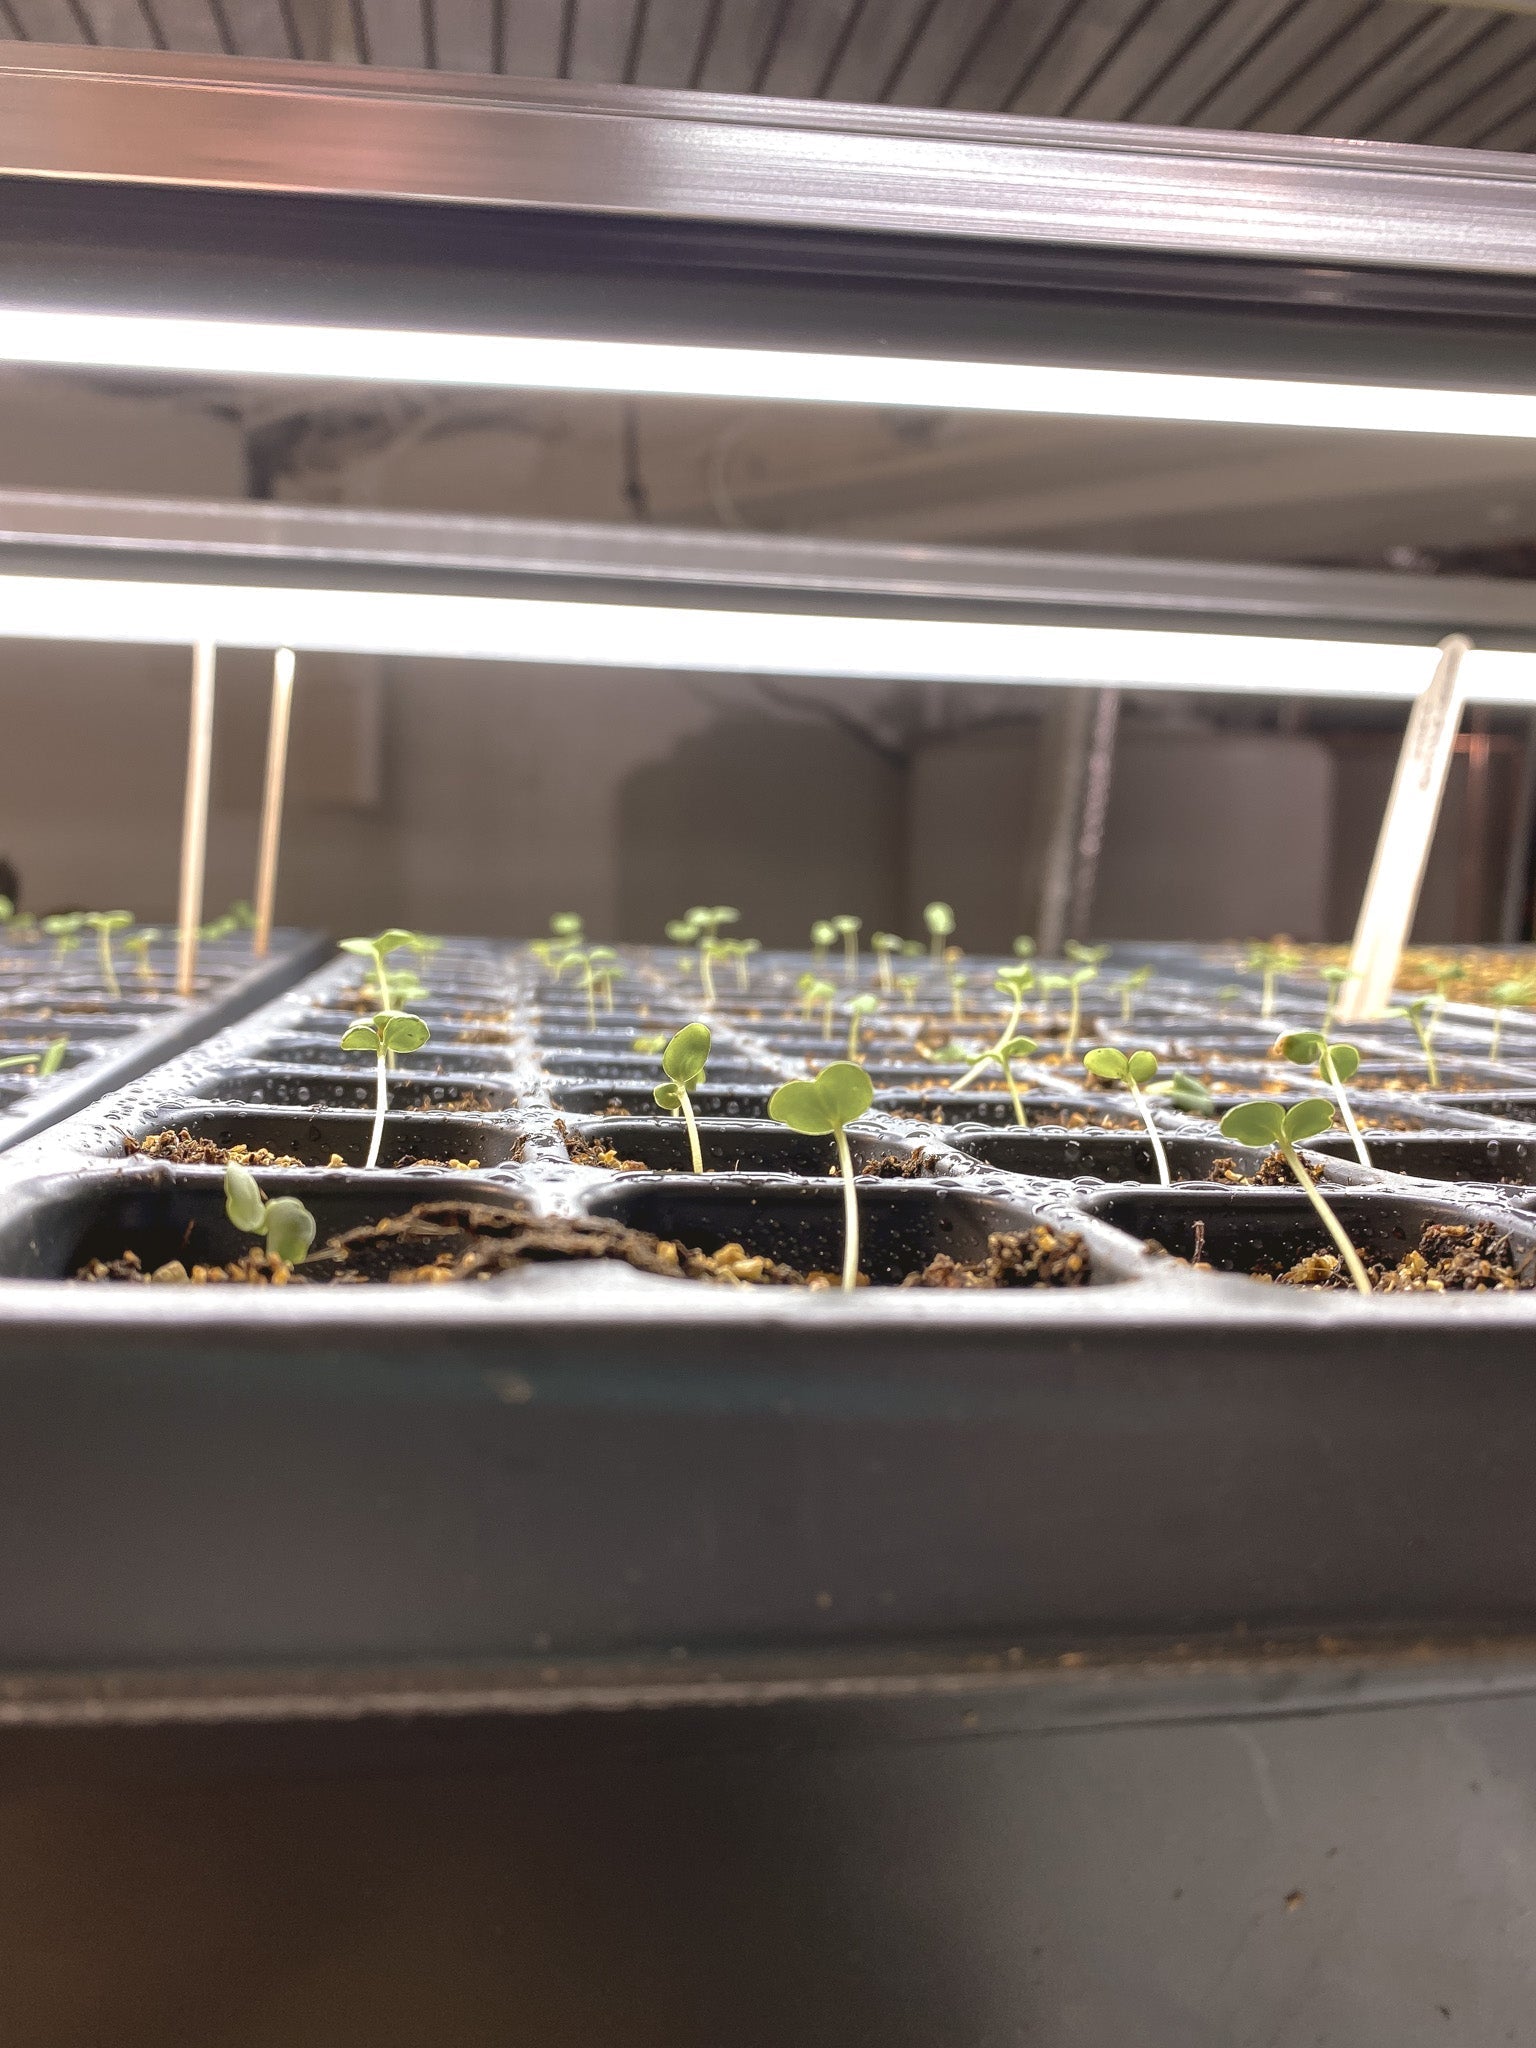
Seedlings grown indoors need time to adjust to outdoor conditions before being planted in the garden.
This process, called hardening off, is essential to reduce transplant shock:
Start Gradually:
Begin by placing your seedlings outside for a few hours a day in a sheltered location.
Gradually increase their exposure to sunlight, wind, and cooler temperatures over 7–10 days.
Start with an hour or two on the first day, then add an hour each subsequent day.
Monitor Conditions:
Keep an eye on the weather and avoid exposing your seedlings to extreme heat, strong winds, or frost.
Bring them indoors overnight if temperatures drop below 50°F.
Use lightweight row covers if unexpected weather occurs.
Watch for Stress:
Signs of stress, like wilting or yellowing leaves, mean it’s time to scale back exposure and give your seedlings a little extra TLC.
Provide shade during the hottest part of the day and ensure they are well-watered.

Water & Mulch for Success
Hydrate First:
Water your seedlings thoroughly a few hours before transplanting.
Moist soil helps reduce transplant shock and encourages root growth.
Use lukewarm water to avoid shocking the plants.
Water After Planting:
Once your seedlings are in the ground, water them gently at the base to help settle the soil around the roots.
Use a watering can or a hose with a soft spray nozzle to avoid displacing soil.
Add Mulch:
Apply a 2-3 inch layer of mulch around your seedlings to retain soil moisture, regulate temperature, and suppress weeds.
Organic mulches like straw, shredded leaves, or wood chips work best.
Leave a small gap around the base of each seedling to prevent rot.
Prepping your garden for seedlings is an exciting step toward a season full of blooms and bountiful harvests.
With healthy soil, proper planning, and a little extra care, your seedlings will transition smoothly to their outdoor home and thrive throughout the growing season.
Happy gardening
Christa
People Also Read
Have Any Questions?
We are here to answer all of your queries


